

For official Shopify Partners, one of their most time-consuming tasks is to develop an eCommerce experience for their clients on the internet. This can include a number of activities such as designing a customized website, ensuring adequate marketing coverage, visibility and more. As such, they’re equipped to be able to deal with any kind of situation and adopt a solution for it in the shortest time possible. This adaptability can be a boon in a number of other areas, especially regarding setting up a POS system for their clients.
Use Shopify’s POS app for the seamless addition of offline-to-online retail.
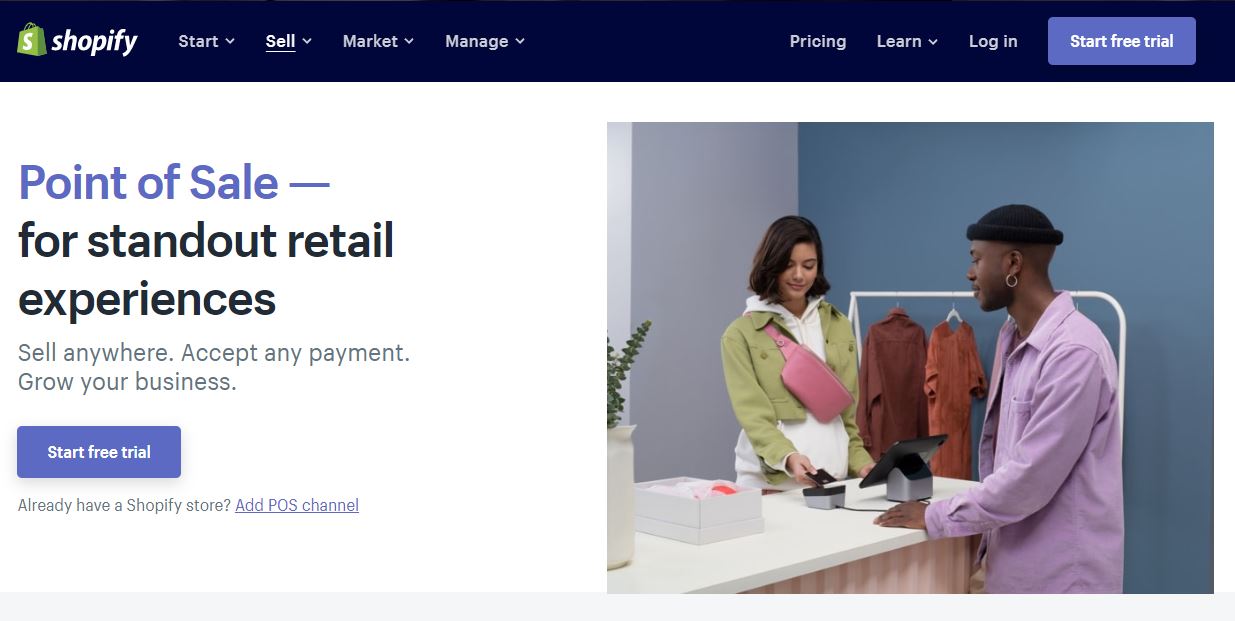
Why POS System
With a booming eCommerce industry that’s growing at an exponential rate, there are many companies that have been able to create a brand identity out of their products. These brands after gaining a modicum of success have now transitioned beyond the confines of the internet and into the physical world. The trend of getting brick-and-mortar stores to jump into the Information Age bandwagon has reversed, with many business ventures nowadays moving into physical retail after having commenced operations virtually.
This fascinating reversal is also the perfect time for you as a Shopify Partner to showcase your adaptability and capitalize on this trend, both for you and your client. With the number of eCommerce companies opting for in-person retail increasing by the day, there are massive revenue opportunities if this course is managed smartly. The best way to capitalize on this movement for you as a Shopify Partner would be to offer a ‘point-of-sale system’ or ‘POS system’ to your clients, both new and old.
How To Set Up
While setting up a POS system is essentially a very easy task, here are a few points for you to check off while installing one for your client.
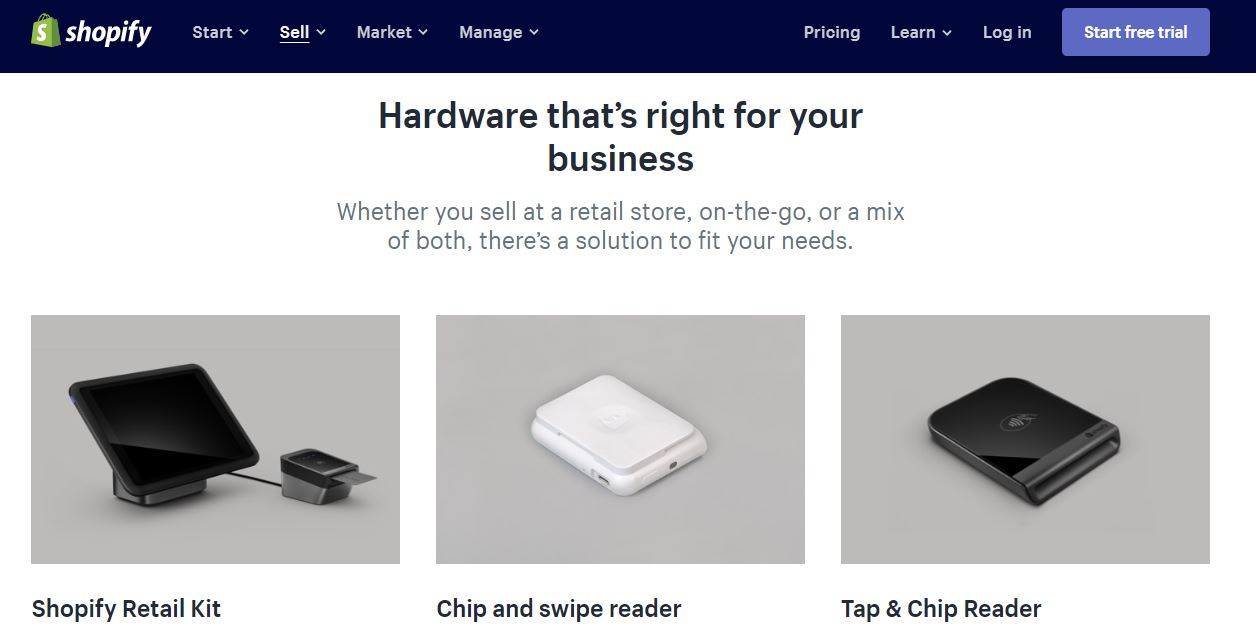
1. Review client hardware:
The most basic thing is to first ensure that the necessary infrastructure is in place for your client to know how to install a POS system. The basic hardware requirements are documented by Shopify and they can be viewed or bought at the Shopify hardware store.
2. Authorize and configure plans:
With the Shopify app available on both Android and iOS, they can be downloaded and used on most electronic devices. Ensure that the operating software meets the minimum requirements (iOS 8.2 for Apple or Android 4.1). Based on the client’s preferred model of physical retail, you can recommend and authorize plans. Configuring them to fine-tune the smaller workings is also an essential task.
Shopify also offers Retail Packages for hardware essentials.
3. Synchronize with the online store:
If your client already has an online store set up, then their product listings should automatically synchronize with the POS system upon initialization. They can also be manually entered through the POS application itself on your electronic device.
4. Assign physical locations:
After logging in using their Admin account, your clients also have the option of manually entering the addresses of any physical stores they may have, regardless of area or country. Your clients also have the privilege of assigning a ‘primary retail location’ in case they have multiple stores across different regions. Once these locations have been saved, they can be assigned to their respective POS systems, ensuring that the appropriate amount is taxed and that orders are tracked efficiently. Assigning selling location is very important in terms of having multiple storefronts in different regions as they may have different rules and regulations regarding tax rates. Hence, adding locations to your client’s Shopify POS system can help to ensure error-free tax calculation at all locations.
5. Decide payment providers for clients and customers:
Just as you would with any other online store, you need to set up a payment provider for your client using Admin. Your client’s preferred payment provider will then be enabled at their POS system. It’s also imperative to customize the client’s POS system based on their preferences. For those willing to take credit cards, they can manually order it from Shopify or use an existing external counter.6. Assemble and test the setup: Once the set up has been assembled, it’s time to test the system and ensure that all its hardware components and software segments work as planned. Clients can also test out any receipt printers, cash drawers, etc. that they may have installed in the store, or they can order a set from Shopify’s Retail Package. After completing the basic installation procedures, it’s important to carry out a few mock orders and verify that the client is comfortable with operating the POS system. Carry out a few more tests regarding the confirmation of orders, updates regarding products and processing of refunds as they’re all extremely critical aspects of