
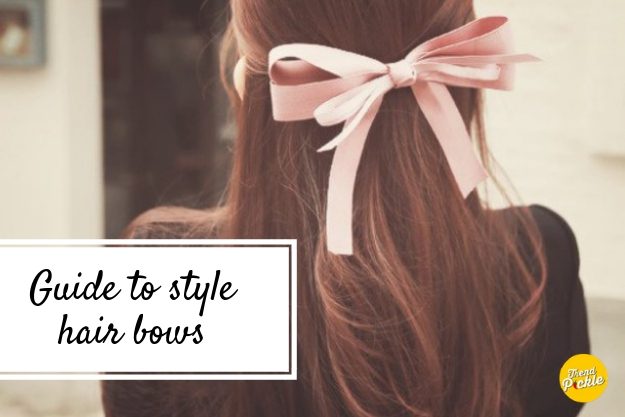
Little girls look incredibly cute with a hair bow. This classy hair accessory enhances the overall look of your child, adding a pop of color to her outfit. Buying a set of bows at stores can cost you more, and some of them are not even that great.
It’s best to personalize the accessory and do it with your own hands. You can also use this opportunity to do something with your baby girl by letting her choose the colors. In case you are looking for tutorials on how to make hair bows step by step, here’s a guide for you.
What You’ll Need
To get started with this simple project of yours, you need to have complete materials. Depending on how intricate you want the hair bow to be, you need essential items like:
- Bow tie noodles hair bows
- Spring flower craft foam hair clips
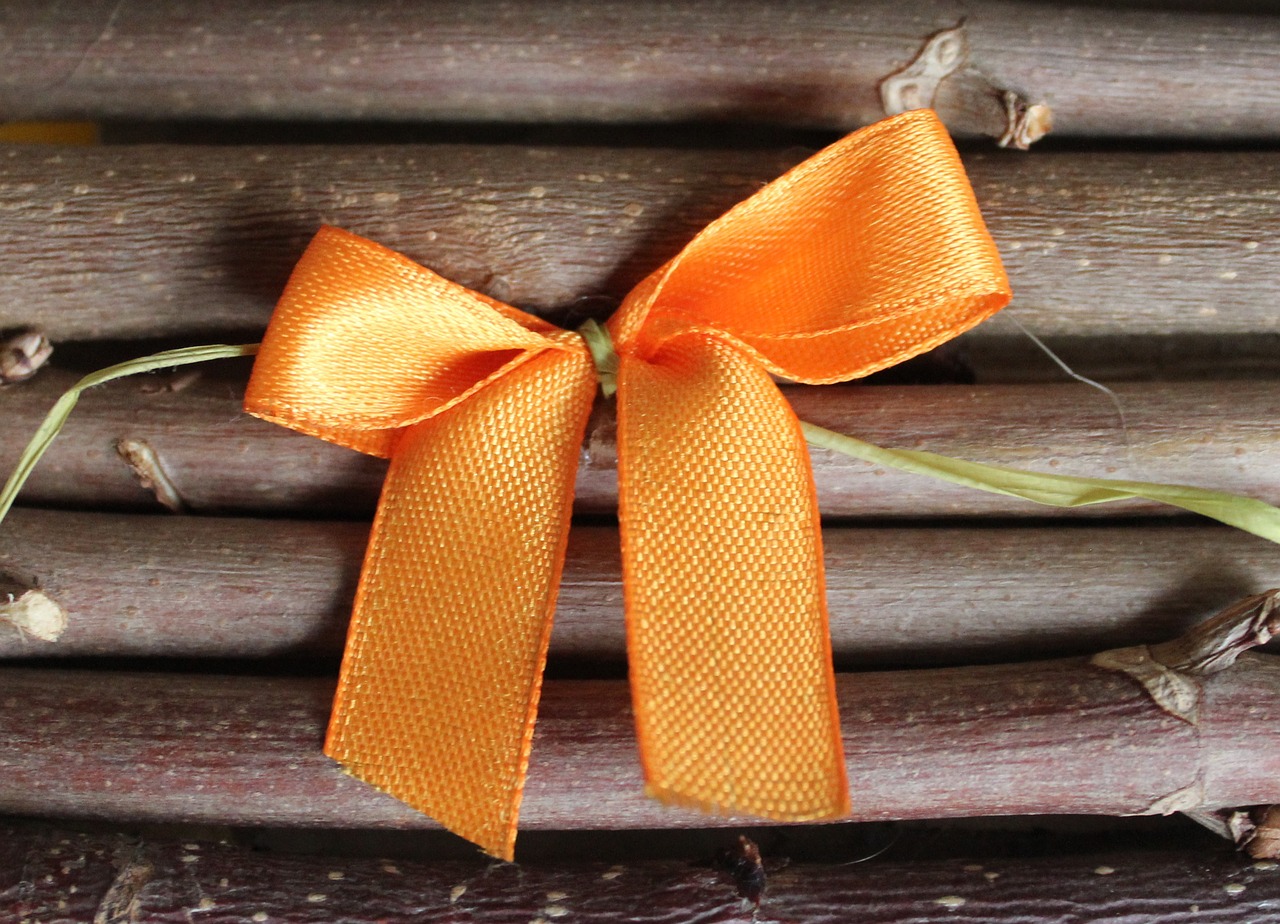
- Different hair bow colors and designs for every occasion
Buying a how-to book can also help you understand how to make hair bows step by step, especially if you want to explore more sophisticated styles.
Best Hair Bows To Try
You can start by making simple and easy hair bows until you finally master the techniques. For beginners, you can use ordinary ribbons that can be purchased from stores and use basic tying methods to secure the bow in place.
1) Floral Hair Bow
This one is incredibly easy to make and replicate anytime. You can also complement it with fresh flowers to increase the wow factor of your little girl’s hair bow.
Start by cutting two pieces of square felt, a 2-by-2-inch piece, and a 1-by-3-inch piece. Gently fold the bigger piece, and half glue the ends together to form a loop. Pinch the center and wrap with the smaller piece of felt.
Get a flower and cut the stem. Carefully glue the clip to the backside of the bow.
2) Dolly Hair Bow

For a classier look for your child, you can make the dolly hair bow. For this, you’ll be needing small dollies in three-round pieces.
Fold each dolly in half and scrunch the bottom.
Next, sew the bottom part of the fan shape to a smaller piece of felt. Repeat the process with the two remaining felt. Trim the excess fabric with a scissor to create a lovely pattern.
The finished look should look like a flower. After this, you can use a glue gun to attach the dolly to a clip.
3) Hair Felt Bow

Hair felt bows are the most common among young girls. These are easy to make as you only need felt of any color and design, plus a clip.
To get started, you need to have a 4-by-4-inch square of fabric. To make it extra crisp or stiff, you can spray with starch.
Next is to fold the felt in half and using a 1/4 stitch line. Clip the corners then pinch the center and secure with a glue gun. Attach the felt to a clip, and it’s good to go. These are just some of the basic hair bows you can make at home. Follow the instructions to create beautiful and sturdy hair bows that your child can wear.
If you are facing hair loss and nothing worked till now, here are the best home remedies for hair fall.